Mastering the art of cooking eggs over hard is an essential skill for any home cook. Over hard eggs, known for their fully cooked yolks, are a staple in many breakfast dishes worldwide. Yet, many people struggle with transforming a raw egg into a perfectly prepared egg over hard. Understanding how to make over hard eggs can lead to more enjoyable, filling breakfasts, and even enhance your culinary repertoire. So, whether you’re an aspiring chef or just a home cook wanting to perfect your egg game, this guide will help you navigate the exciting world of over hard egg preparation.
Table of Contents
What are Over Hard Eggs?
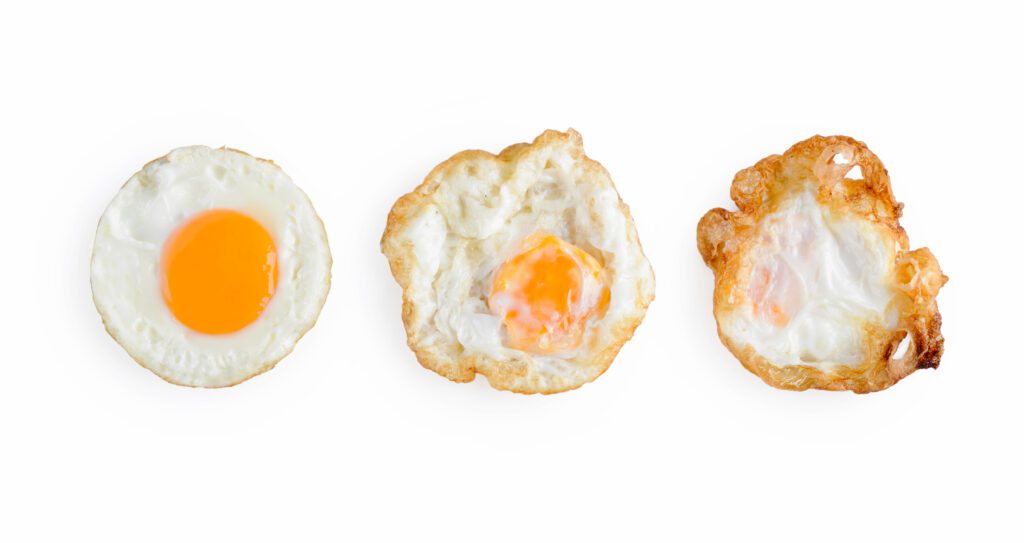
Over hard eggs represent a specific style of fried egg where the egg is flipped and cooked to the point where the yolk is fully solid. This differs from eggs over easy or eggs over medium, which still have a slightly runny yolk.
The term “over hard” refers to the cooking process, where the egg is first cooked on one side (sunny side up), then flipped over and cooked hard on the other side until the yolk is completely cooked through.
Learning how to make over hard eggs is quite straightforward. It begins with cracking the egg into a non-stick pan heated with a small amount of butter or oil, just like most other fried egg methods.
The key difference in preparing an egg over hard is in the cooking time on the second side. After flipping, you need to cook the egg longer on the second side to ensure the yolk is solid.
Mastering how to make over hard eggs can be a useful skill for those who prefer their eggs with a fully cooked yolk. While it may take a couple of tries to get the timing right, with practice, making a perfect over hard egg can become second nature.
Why Choose Over Hard Eggs?
Over hard eggs are a fantastic choice for several reasons. For starters, they’re packed with high-quality proteins, essential vitamins, and minerals, making them a nutritious addition to any meal. The fully cooked yolk of an over hard egg provides a slightly different texture and flavor profile, appealing to those who enjoy a firmer, less runny egg.
Furthermore, over hard eggs offer great versatility in the kitchen. You can serve an over hard egg on its own, slide it onto a breakfast sandwich, or chop it up and toss it into a salad. The solid yolk holds its shape well, making eggs over hard a great option for dishes where a runny yolk might not be desirable.
Learning how to make over hard eggs also gives you more control over your breakfast and brunch game.
So warm up your skillet, grab an egg, and give the over hard egg a try. With a bit of practice, you’ll soon master the art of cooking eggs over hard.
Equipment Required
For the perfectly cooked over hard eggs, it is crucial to equip your kitchen with the right tools. A non-stick skillet is paramount in achieving eggs over hard that slide smoothly onto your plate. It’s especially useful when you’re ready to flip your eggs, creating a seamless transition and reducing the risk of breaking the yolk.
The second key piece of equipment you need is a flexible spatula. This tool will become your best friend in the quest of mastering how to make over hard eggs. Its flexibility allows for an easy lift from the pan and a gentle flip, ensuring the over hard egg maintains its integrity.
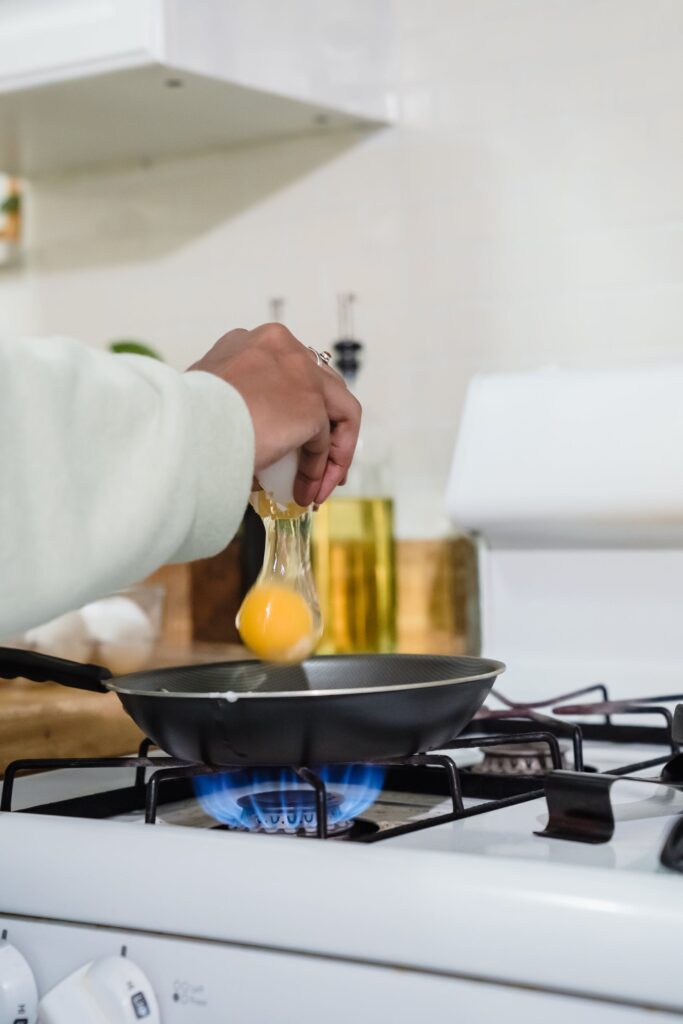
Lastly, you’ll need a simple egg cracker or even just a flat-surfaced utensil. The cleaner the break in the eggshell, the lesser the risk of shell fragments ending up in your pan. Remember, it’s the little details that can transform an ordinary egg into a flawless over hard egg.
Equipping yourself with the right tools is an essential first step in mastering the art of cooking eggs over hard. With the right skillet, spatula, and egg-cracking technique, you’re well on your way to whipping up the perfect over hard egg.
Step-by-Step Guide to Making Over Hard Eggs
Preparation:
- Ensure that your non-stick skillet is clean and free from any debris.
- Place the skillet on the stove and preheat it over medium heat.
- While the skillet is preheating, take the egg and crack it using the egg cracker or flat-surfaced utensil. Make sure to do so on a flat surface to prevent shell fragments from falling into the egg.
Cooking Process:
- After preheating, gently pour the cracked egg into the skillet. Ensure the egg is centered in the pan.
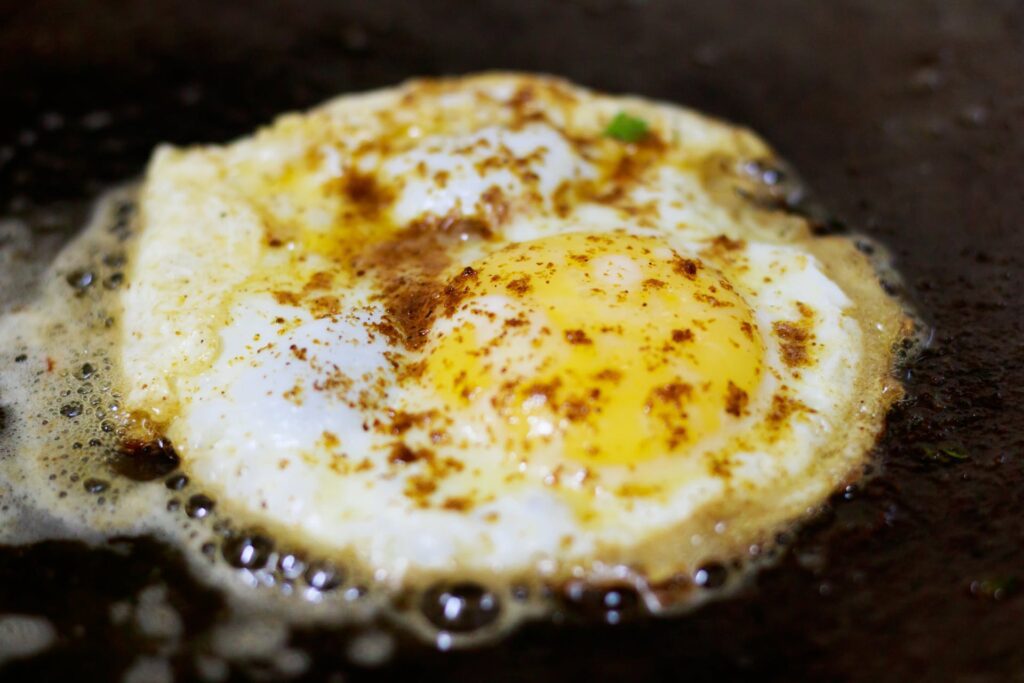
- As the egg starts to cook and solidify, observe it closely. Wait until the white of the egg is fully set, but the yolk is still slightly runny.
- Using the flexible spatula, carefully slide it under the egg. Then, in one swift motion, flip the egg over.
- Leave the egg to cook on this side for a minute or two, depending on your desired level of doneness.
Finishing Up:
- Once you’ve achieved the desired consistency for your over hard egg, use the spatula again to lift the egg from the pan.
- Gently slide the egg onto your plate, taking care not to break it in the process.
- Your perfect over hard egg is now ready to be served. Enjoy the fruits of your labor, knowing you’ve mastered how to make over hard eggs.
Follow these steps and you’ll be able to create delicious and perfectly cooked over hard eggs each time. The key is patience and using the right tools. Happy cooking!
Tips and Tricks
To make your over hard eggs even more perfect, you can consider a few tips and tricks that are often recommended by seasoned cooks.
- Use Fresh Eggs: Fresh eggs can make a significant difference in both the taste and texture of your over hard eggs. Always ensure that your eggs are as fresh as possible for the best results.
- Control the Heat: Maintain medium heat when cooking your egg over hard. High heat might cook the egg too quickly, causing it to become too hard or even burn, while low heat might make it too soft.
- Non-stick Pan: Using a non-stick pan is essential when making an over hard egg. It makes it easier to flip the egg without breaking it, and also easier to slide it onto your plate when it’s done.
- Be Patient: Patience is key when learning how to make over hard eggs. It is crucial to wait until the egg white is fully set before flipping it in order to prevent breaking the yolk.
When preparing eggs over hard, the cooking time per side is crucial to achieving the perfect doneness. After flipping the egg, allow it to cook for approximately 2-3 minutes. This time allows the yolk to firm up, characteristic of an over hard egg.
Remember, how to make over hard eggs correctly is all about timing. Too short, and your egg will be runny; too long, and it risks becoming rubbery and overcooked. By mastering the cooking time, you will perfect the art of making delicious, over hard eggs every time.
Conclusion
Crafting the perfect eggs over hard is an art, as much as it is a science. By now, you should have a solid base on how to make over hard eggs properly. With patience and the right tools, you can master this simple, yet versatile, breakfast staple.
Remember to utilize fresh eggs, control your heat, use a non-stick pan, and above all, be patient. These principles are the pillars of making a delicious over hard egg.
We hope this guide has inspired you to enhance your breakfast game with perfect eggs over hard. But to get those eggs over hard just right, you might need a bit of help from the right tools.
Here are a few suggestions of products you may find useful.

Non-Stick Pan: A good quality non-stick pan is essential in your quest to make the perfect over hard egg.

Spatula: A flexible, yet sturdy spatula can make the flipping process much easier. The OXO Good Grips Large Silicone Flexible Turner comes highly recommended.

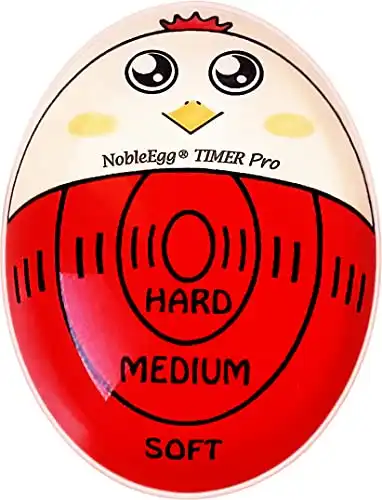
Egg Timer: If you’re unsure about cooking times, an egg timer can take the guesswork out of the process. NobleEgg Egg Timer Pro is a simple and efficient choice.

Egg Ring: For those who want perfectly round eggs every time, an egg ring is a must-have. The COTEY 3.5″ Egg Rings Set is non-stick, heat resistant, and ensures your over hard eggs are uniformly shaped, elevating the presentation of your breakfast plate.
Remember, understanding how to make over hard eggs is just the first step. With these tools at your disposal, you’re well on your way to mastering the art of the over hard egg. We’d love to hear about your journey.
Let us know how your eggs over hard turned out in the comments below. Have questions or tips to share? Don’t hesitate to contribute to the conversation!
Check out more great articles in our recipe section!

