In the introductory section of our handy guide, we dismantle the outdated notion that sewing belongs exclusively to the domain of women. In the modern world, where the ability to be self-sufficient is increasingly valued, learning how to sew a hole is a practical skill for men. Whether it’s to extend the life of favorite garments or to add a personal touch to their wardrobe, the competence of thread and needle can save both time and money, while also being a stepping stone towards greater self-reliance.
In This Article
Materials Needed
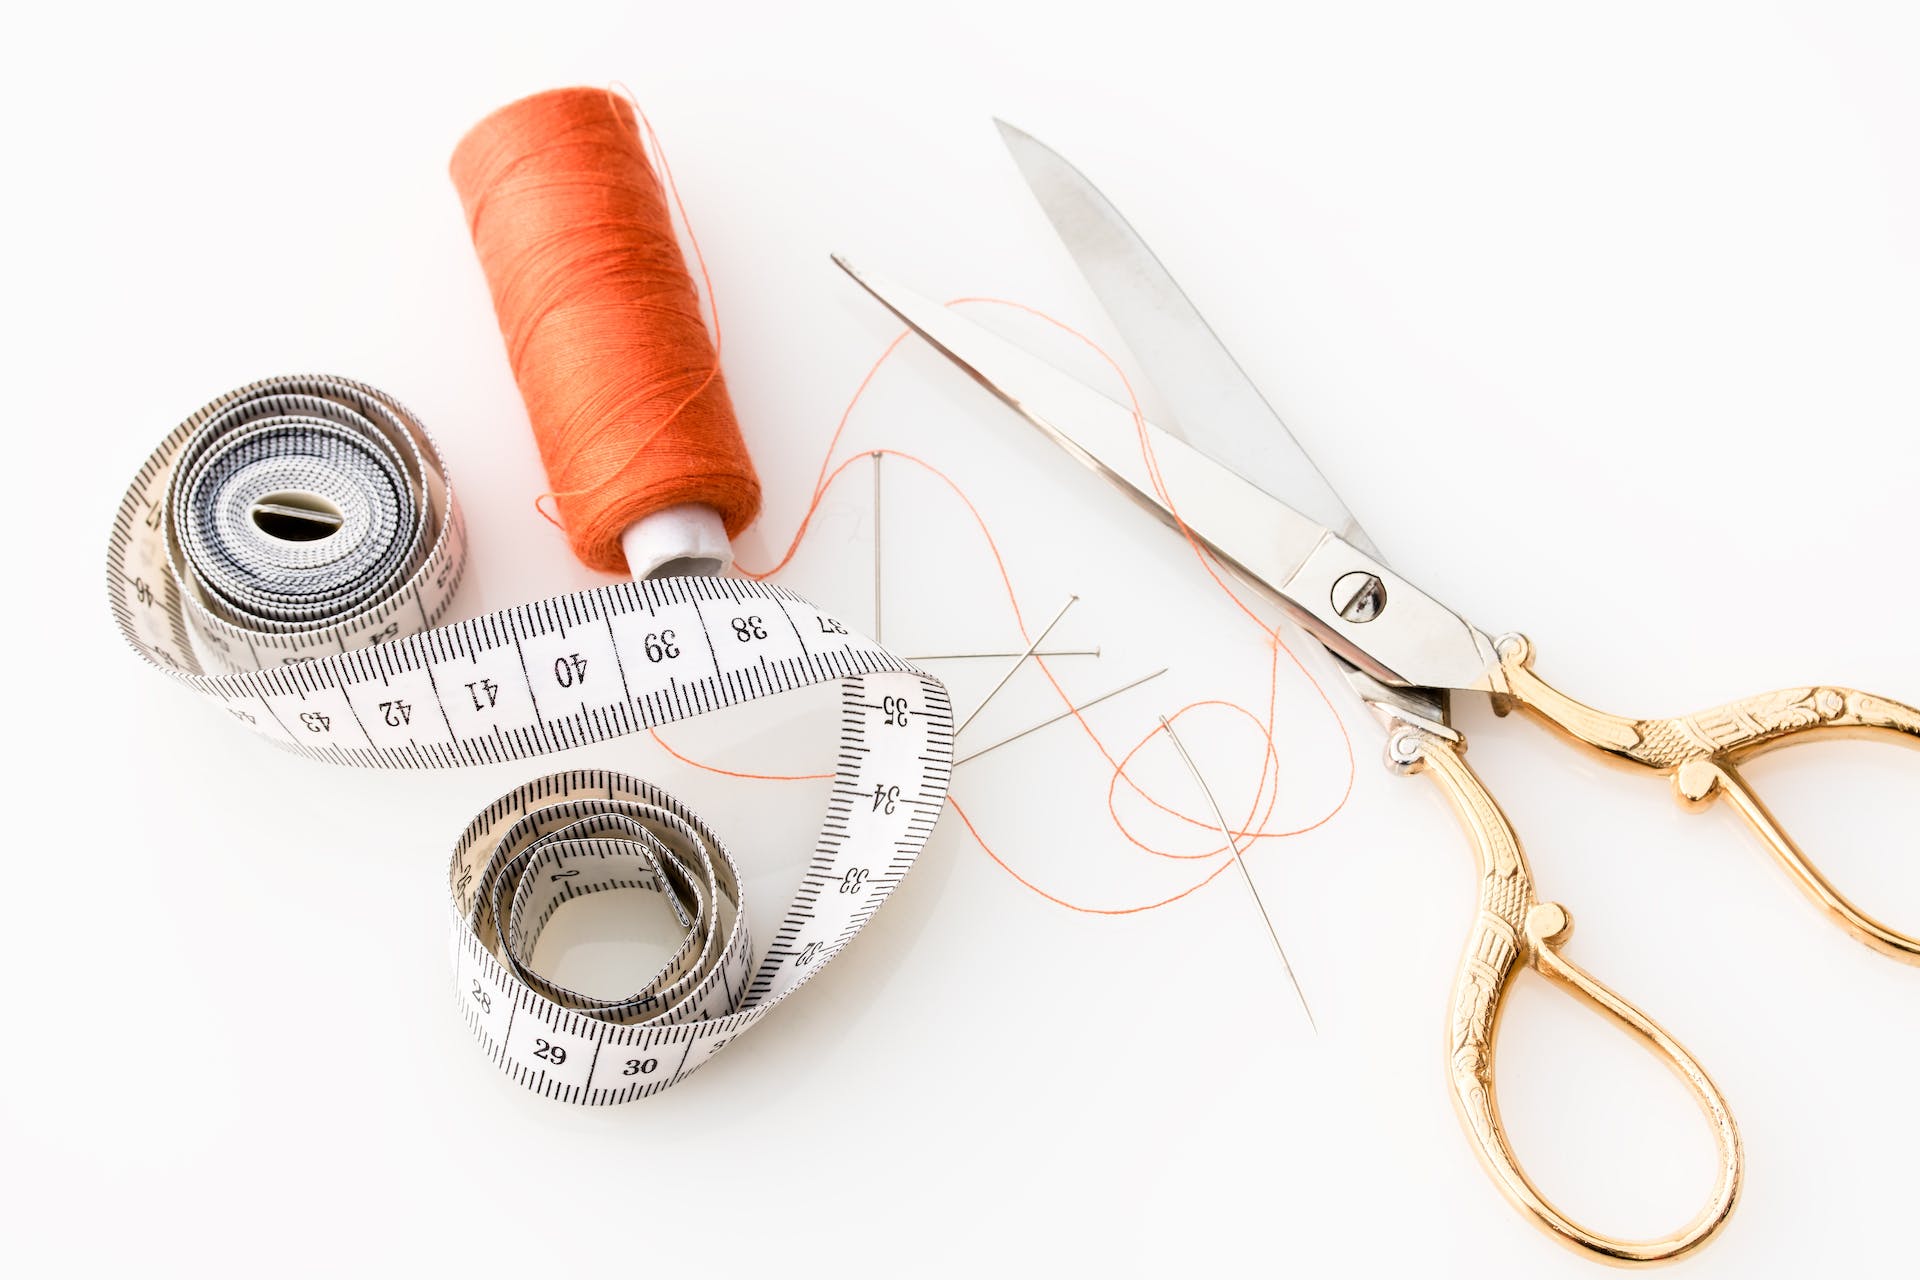
Before you embark on your journey to master how to sew a hole, it’s essential to gather the right tools. You will need:
- A sharp sewing needle: This is the primary tool you will use to maneuver the thread through the fabric.
- Durable thread: Select a thread color that closely matches your garment to ensure a discreet repair.
- Scissors: A pair of sharp scissors is necessary for cutting the thread neatly.
- Thimble (optional): A thimble can protect your fingers when pushing the needle through tough fabrics.
As for the types of thread and needles, you’ll find that different materials require different tools. For denim or other heavy fabrics, use a thick, strong thread and a needle with a large eye. Lighter fabrics like cotton or silk will require finer needles and thread to avoid damaging the material. Keep in mind that the quality of your sewing essentials directly impacts the outcome of your repair. Therefore, investing in good-quality materials is as crucial as learning the skill itself.
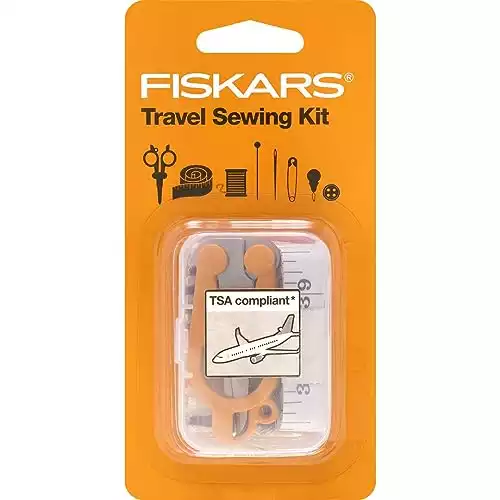
27-Piece Travel Sewing Set with Case - Craft Supplies - Orange
Preparing the Hole for Sewing
Before you actually start sewing the hole, proper preparation is key to a seamless repair. Here’s what you should do:
- Lay the garment flat and assess the hole. Ensure that it is clean and free from frayed edges. If necessary, gently trim away any loose threads with your scissors.
- If the hole is large, you may need a patch of fabric to reinforce the area. Choose a piece that matches the garment’s material and color.
- Position the fabric patch behind the hole and secure it in place with pins if needed. This will provide a sturdy base for your stitches.
A well-prepared fabric is the foundation of a robust repair. Now that everything is in place, you are ready to dive into the art of how to sew a hole.
How to Sew a Hole – Instructions
Stiches
When learning how to sew a hole, mastering a few basic stitches is essential. Here’s a rundown of two key techniques:
- The Straight Stitch: This is the simplest stitch and forms the basis of sewing. To perform a straight stitch, push the needle up through the fabric and then down a short distance ahead to create a single stitch. Continue this motion in a straight line across the hole.
- The Backstitch: For a stronger, more durable repair, the backstitch is ideal. Begin as you would with the straight stitch, but when bringing the needle back up, place it a short distance behind the end of the last stitch. This creates an overlapping pattern, reinforcing the seam.
Materials
Moving onto the practical guide on how to sew a hole, here’s what you should do for different types of garments:
- For denim: Begin with the fabric patch in place if needed, and first anchor your thread with a backstitch. Given the fabric’s toughness, use the thimble to safeguard your finger as you apply more force to push the needle through.
- For knitwear: Avoid patches unless absolutely necessary, as they can cause the garment to lose its stretch. Opt for a darning stitch, weaving the thread over and under the open area.
- For delicate fabrics: Be mindful to avoid pulling the thread too tightly. Gentle, short straight stitches work best to bring together the edges without creating puckering.
Once you have completed the repair, securing the thread is essential to prevent future unravelling. Begin by making a small stitch at the end of your seam and pulling the thread through until there is only a small loop left. Pass the needle through this loop twice to create a knot, then gently pull to tighten the knot against the fabric. To ensure additional security, it’s advisable to repeat this process one more time before trimming the excess thread with sharp scissors, leaving about a quarter-inch tail to prevent the knot from unraveling.
Step-by-Step Guide on How to Sew a Hole
After you’ve prepped your garment, follow these steps to sew the hole closed meticulously:
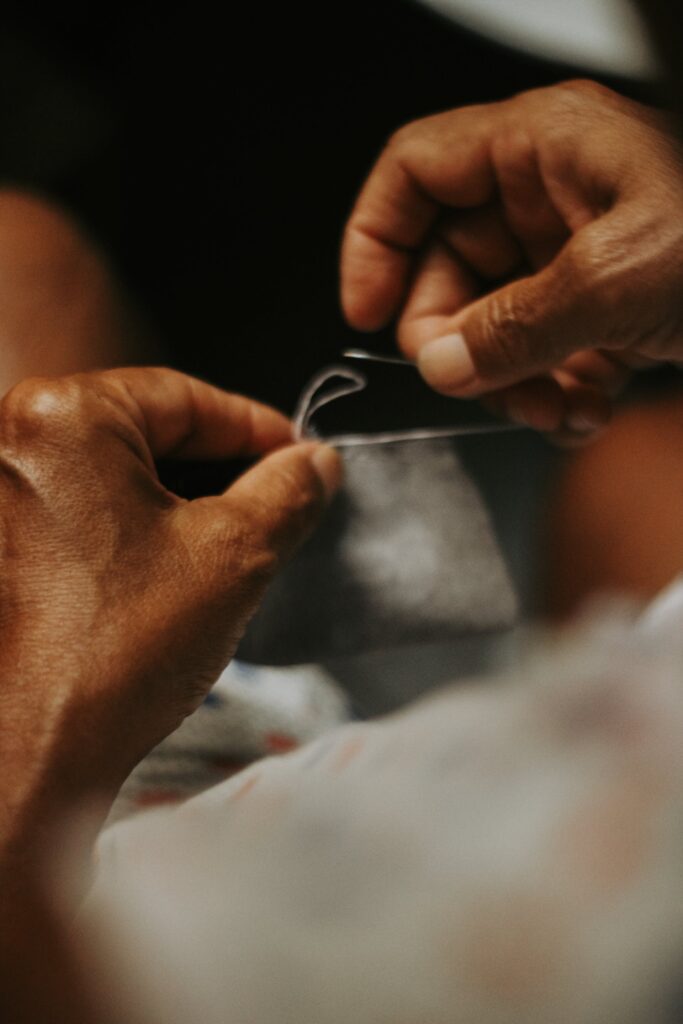
- Thread the Needle:
Cut a length of thread about 18 inches long. Thread the needle and tie a knot at the end of the thread. If you’re using a patch, start by threading from the inside to hide the knot.
- Begin the Stitch:
Start from the inside of the fabric, bringing the needle out near the edge of the hole to hide your starting point. If you’re using a patch, make sure your first stitch goes through it.
- Stitch Around the Hole:
Proceed with small, even stitches. If the fabric is delicate, use a running stitch; for tougher fabrics like denim, a backstitch provides more strength.
- Secure the Patch (if applicable):
Continue stitching around the perimeter of the patch to secure it to the garment. Ensure your stitches are neat and close together for durability.
- Finish the Sewing:
Once you’ve stitched around the hole completely, secure the thread on the inside with a few back stitches or by tying a small knot.
- Inspect Your Work:
Confirm that the hole is completely covered and the patch (if used) is secure. Trim any excess thread and remove the pins.
- Press the Repaired Area:
Use an iron to press the repaired area. This helps to flatten the stitches and integrate the patch smoothly into the fabric.
By following these steps, you can ensure a strong, inconspicuous repair that extends the life of your garment.
Finishing Touches

When attempting to make the repair less visible, there are a few tricks to blend the sewn area with the rest of the garment. The key is to choose a thread that closely matches the color and thickness of the fabric. If you’re wondering how to sew a hole discreetly, start by threading the needle with an arm’s length of thread to reduce the chance of tangling. Carefully use the existing weave or knit pattern as a guide to maintain the fabric’s original appearance. In case of denim or heavier fabrics, if using a patch, trim its edges to a thin taper so that it blends seamlessly underneath the hole.
To ensure the durability of the sewn patch or darning stitch, take special care with the tension of your thread. Neither too loose nor too tight is the balance you want to achieve. Remember, the repair should move with the fabric, mimicking its natural give without restricting it. For particularly stressed areas, such as knees or elbows, consider reinforcing the surrounding fabric with additional stitches to distribute future strain. These precautions will prolong the lifespan of the patch and make your handiwork on how to sew a hole stand the test of time and wear.
How to Sew a Hole – Conclusion
In conclusion, mastering how to sew a hole is more than just a quick fix; it’s a valuable life skill that instills a sense of self-reliance and sustainability. By salvaging a beloved item of clothing, not only are you giving it a second life, but you’re also participating in a culture of repair that’s good for the environment and your wallet. So, take pride in your new sewing abilities and embrace the imperfections that come with DIY repairs—they add character!
We’d love to hear how your sewing adventures go! Feel free to share your success stories, the challenges you’ve overcome, or the creative solutions you’ve discovered on your journey to becoming more proficient in how to sew a hole. Each stitch you make is a learning experience and an opportunity to refine your skills. Happy sewing!
Check out more “how to” guides here!